When I was younger, I’d often create Lego stop motion animations of police chase scenes, Star Wars battles, and space missions. In addition to terrible plot direction, a major limitation of my animations was sound design. Therefore, recreating a film sequence with its scene direction and audio offered a way to fix both.
I recently acquired the Lego NASA Apollo 11 Lunar Lander which made a fine addition1 to my space collection and I wished to use this to recreate the moon landing sequence from First Man.
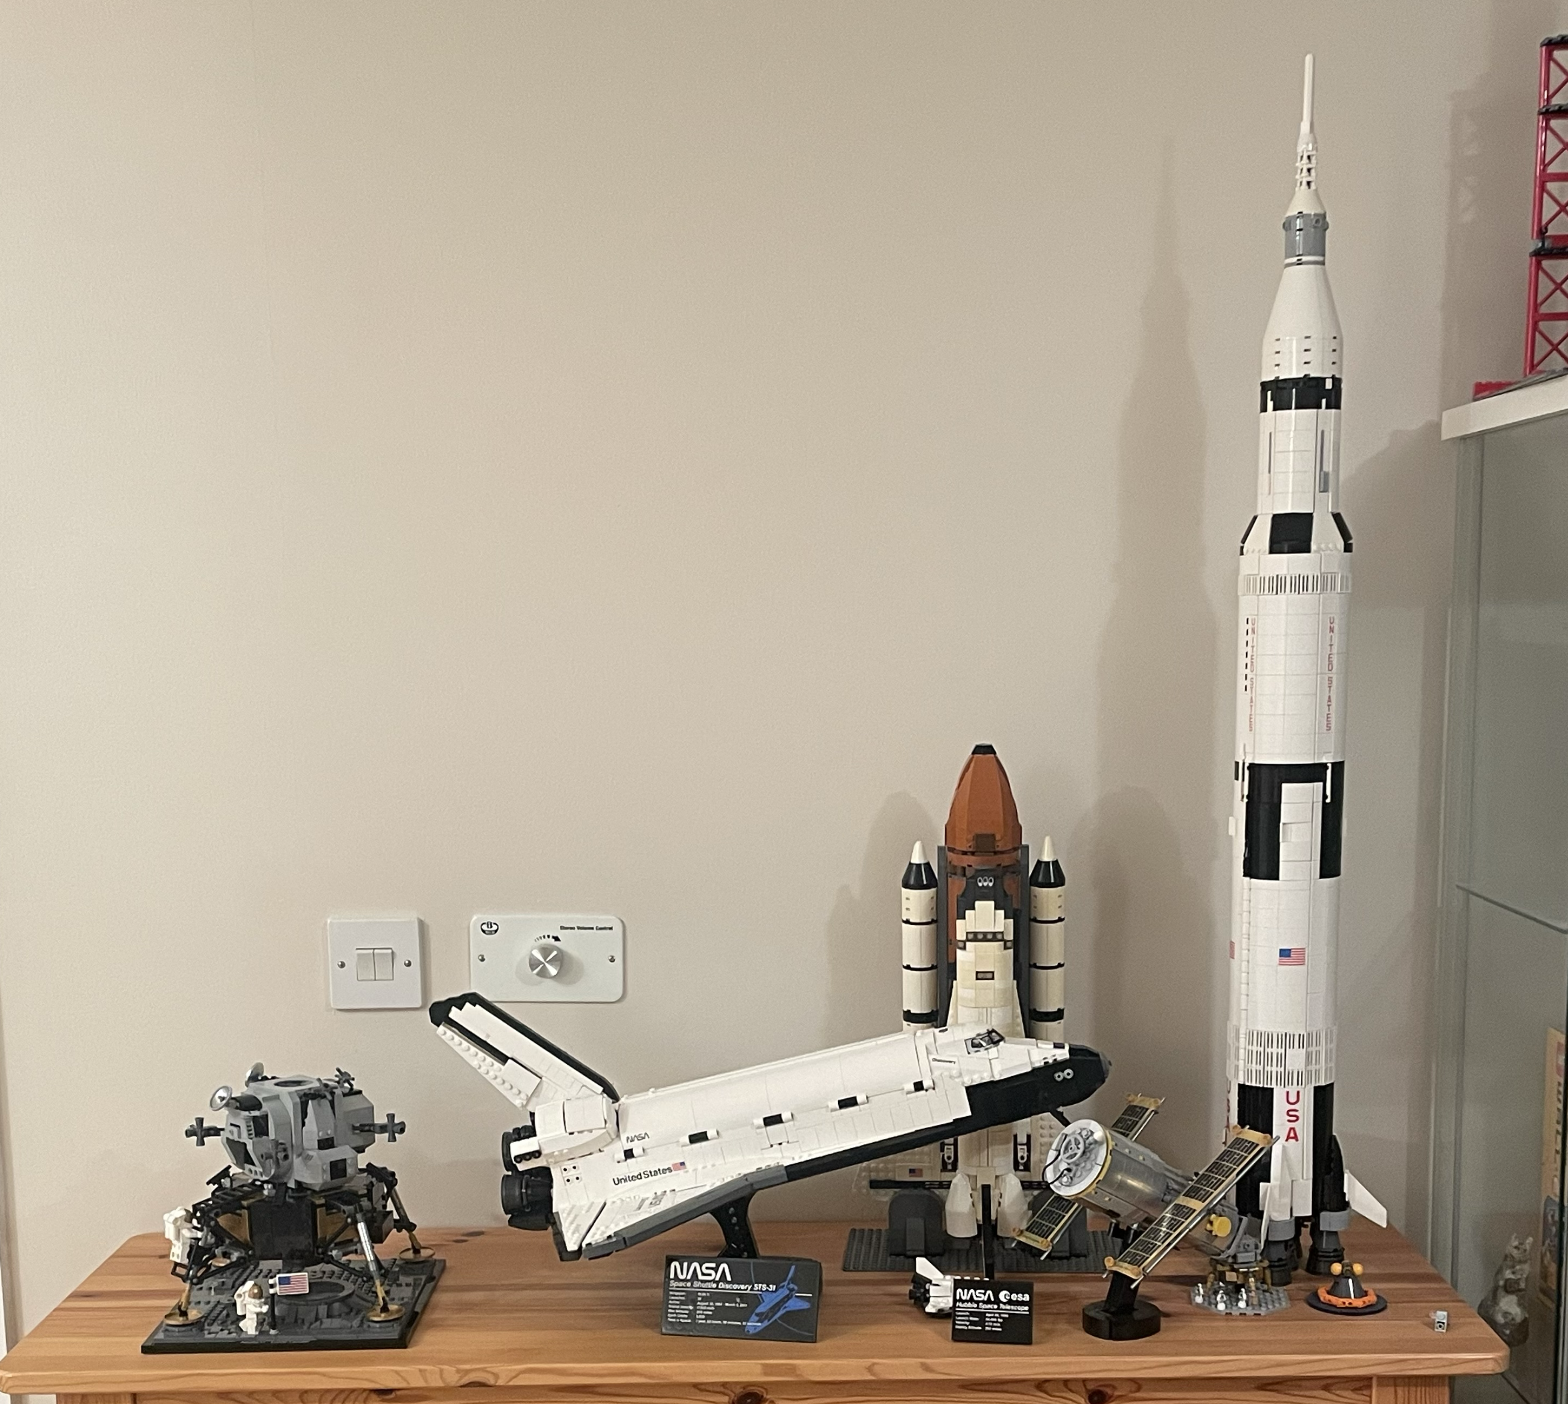
Practical Shots and Sets
I needed shots that actually looked convincing in camera. So I tried to do as much as possible practically, using suspended Lego models, simple set builds, and a lot of improvised lighting and perspective tricks. It was a very low-budget setup.
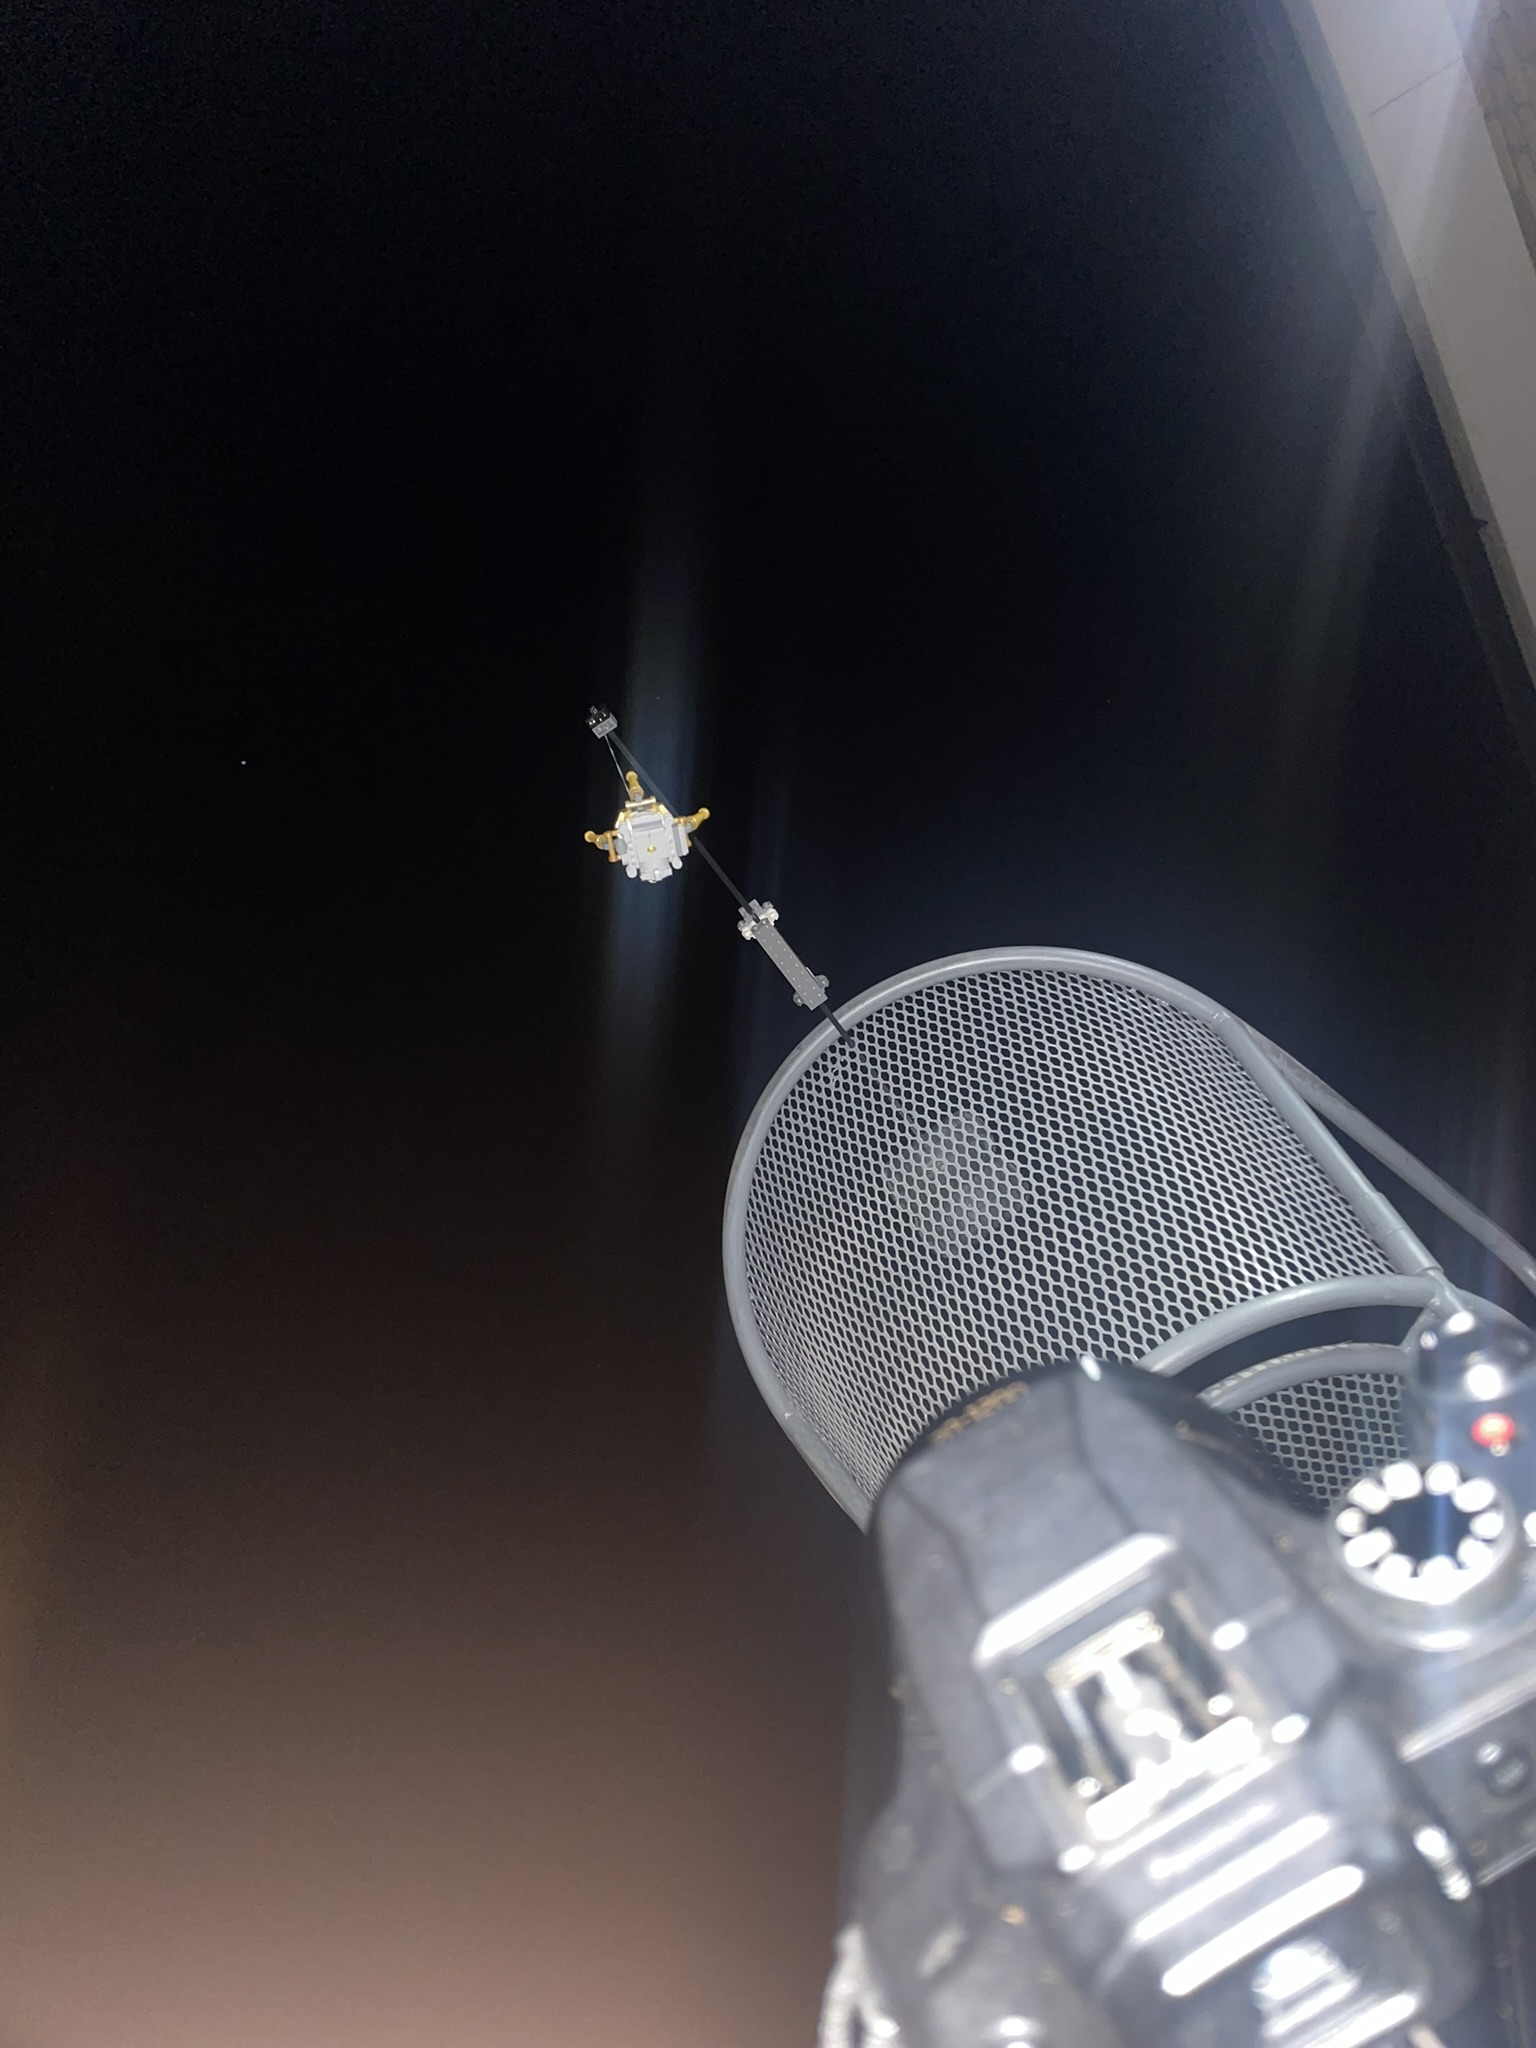
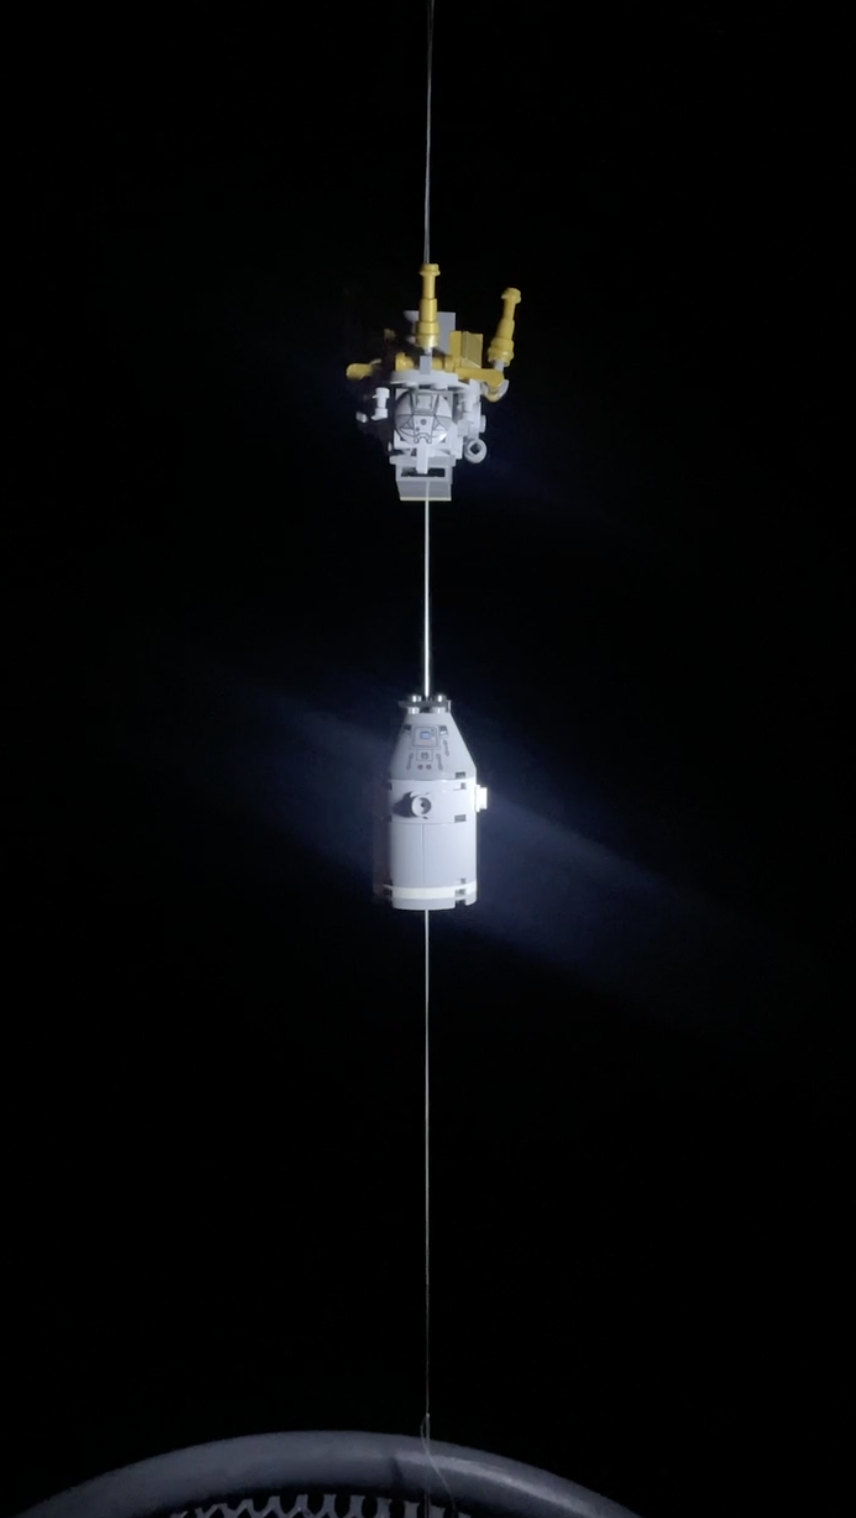
Mini Lego builds dangling from dental floss and a DIY pulley system to re-create stage separation
I next needed a moon…
Turns out faking a moon landing is incredibly difficult[Citation needed]. I first considered a miniature moon build which I could then stitch with the shots of the lander and command module. I faced two issues here. I didn’t have enough parts to build a convincingly cratered surface. And secondly, I didn’t have a camera with a long enough focal length to make the Lego look convincingly large.
Let’s build a digital moon.
I tried two versions. A Lego moon and a ‘real’ moon.
A Lego moon has issues. 1) it looks a bit stupid. 2) Lego studs create shadows making the studs look like massive mountains. And in space, where there is no atmosphere to scatter light, shadows are effectively pitch black. This looks really weird.
I decided to use a ‘real’ moon and designed one in Blender - it wasn’t great and present me wishes I did a better job of it. But it did the job. I could now animate the camera moving around the moon to mimic any needed shots.
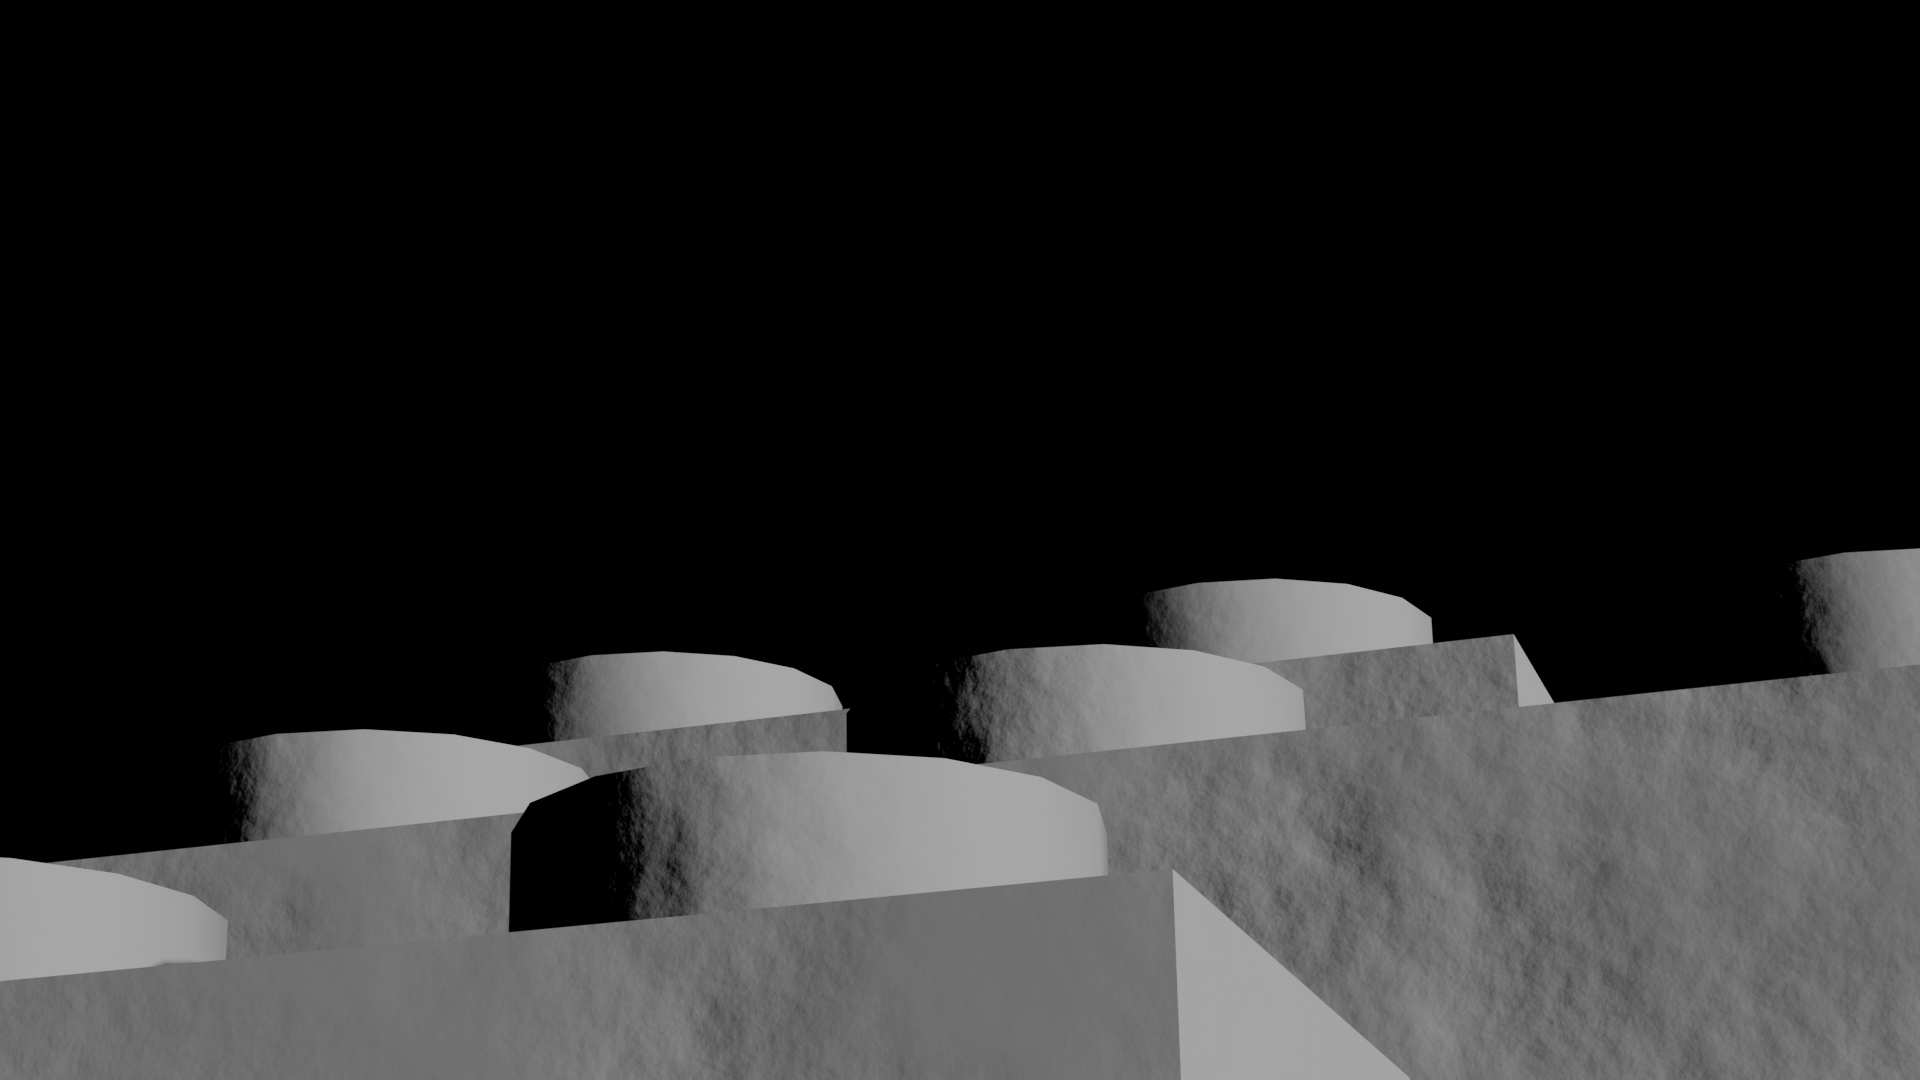
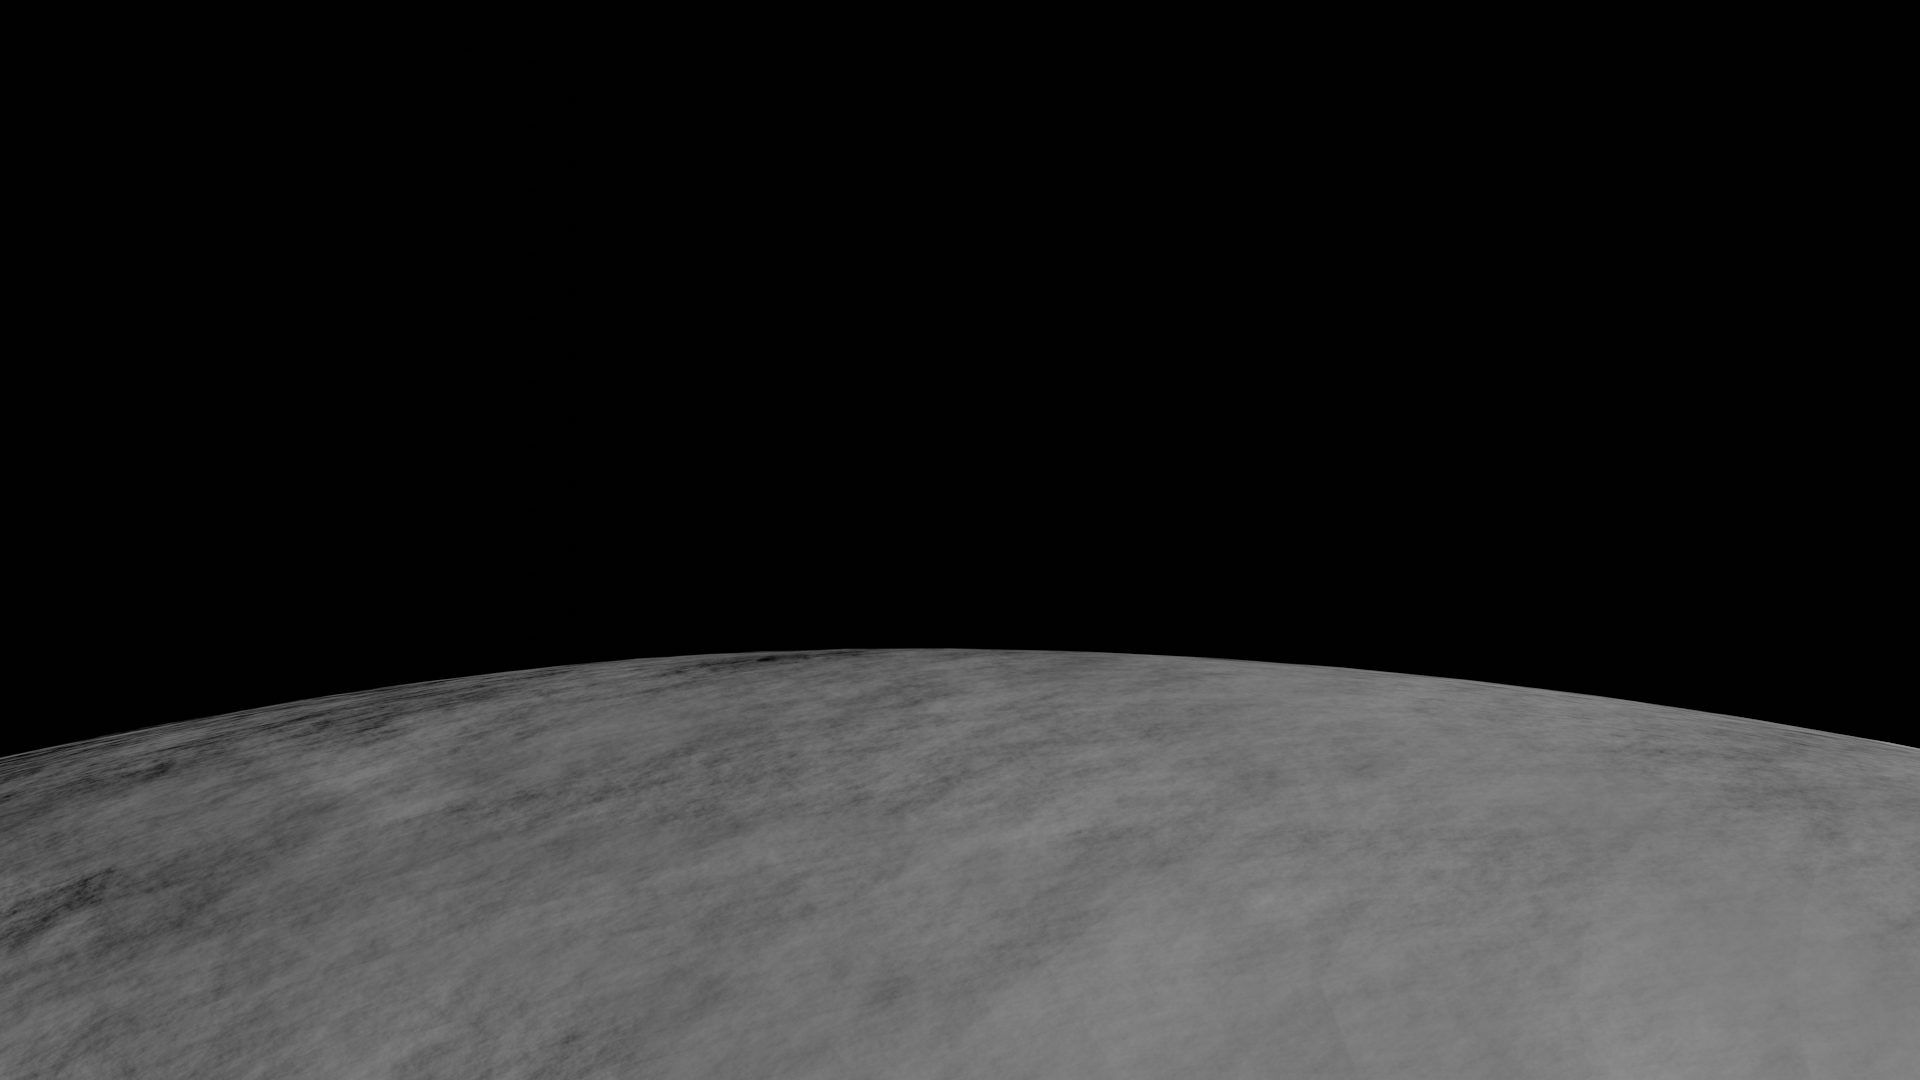
Lego and 'real' moon
Next, I needed a lunar lander interior set. The lander contains a huge number of controls, but building the instrument panels at true minifigure scale would have made them too small to show much detail. Instead, I used forced perspective, keeping the minifigures closer to the camera so that the larger control panels behind them appeared correctly scaled. I also left gaps behind each panel so that I could illuminate the controls from behind.
Whenever the Moon was visible through the windows, I used my digital Moon by rendering its rotation/angles as necessary. For less complex shots where the lander was simply moving over the Moon’s surface, I would use real lunar footage from Apollo 13. I would then film these through the set’s windows.
One scene required a little more thought. The camera watches the command module move away from the lander through the window before the lander rotates and the Moon comes into view. The view outside therefore had to transition from my physical LEGO command module to the lunar footage while continuously rotating across the window.
My first attempt was to film the rotation away from the physical command module, create a separate render rotating towards the Moon, and stitch the two shots together. The transition, however, was not smooth enough. Instead, I built a 3D model of the LEGO command module in Blender. This allowed me to create the entire sequence as a single continuous animation, which I could then play on my laptop and film through the set’s windows.
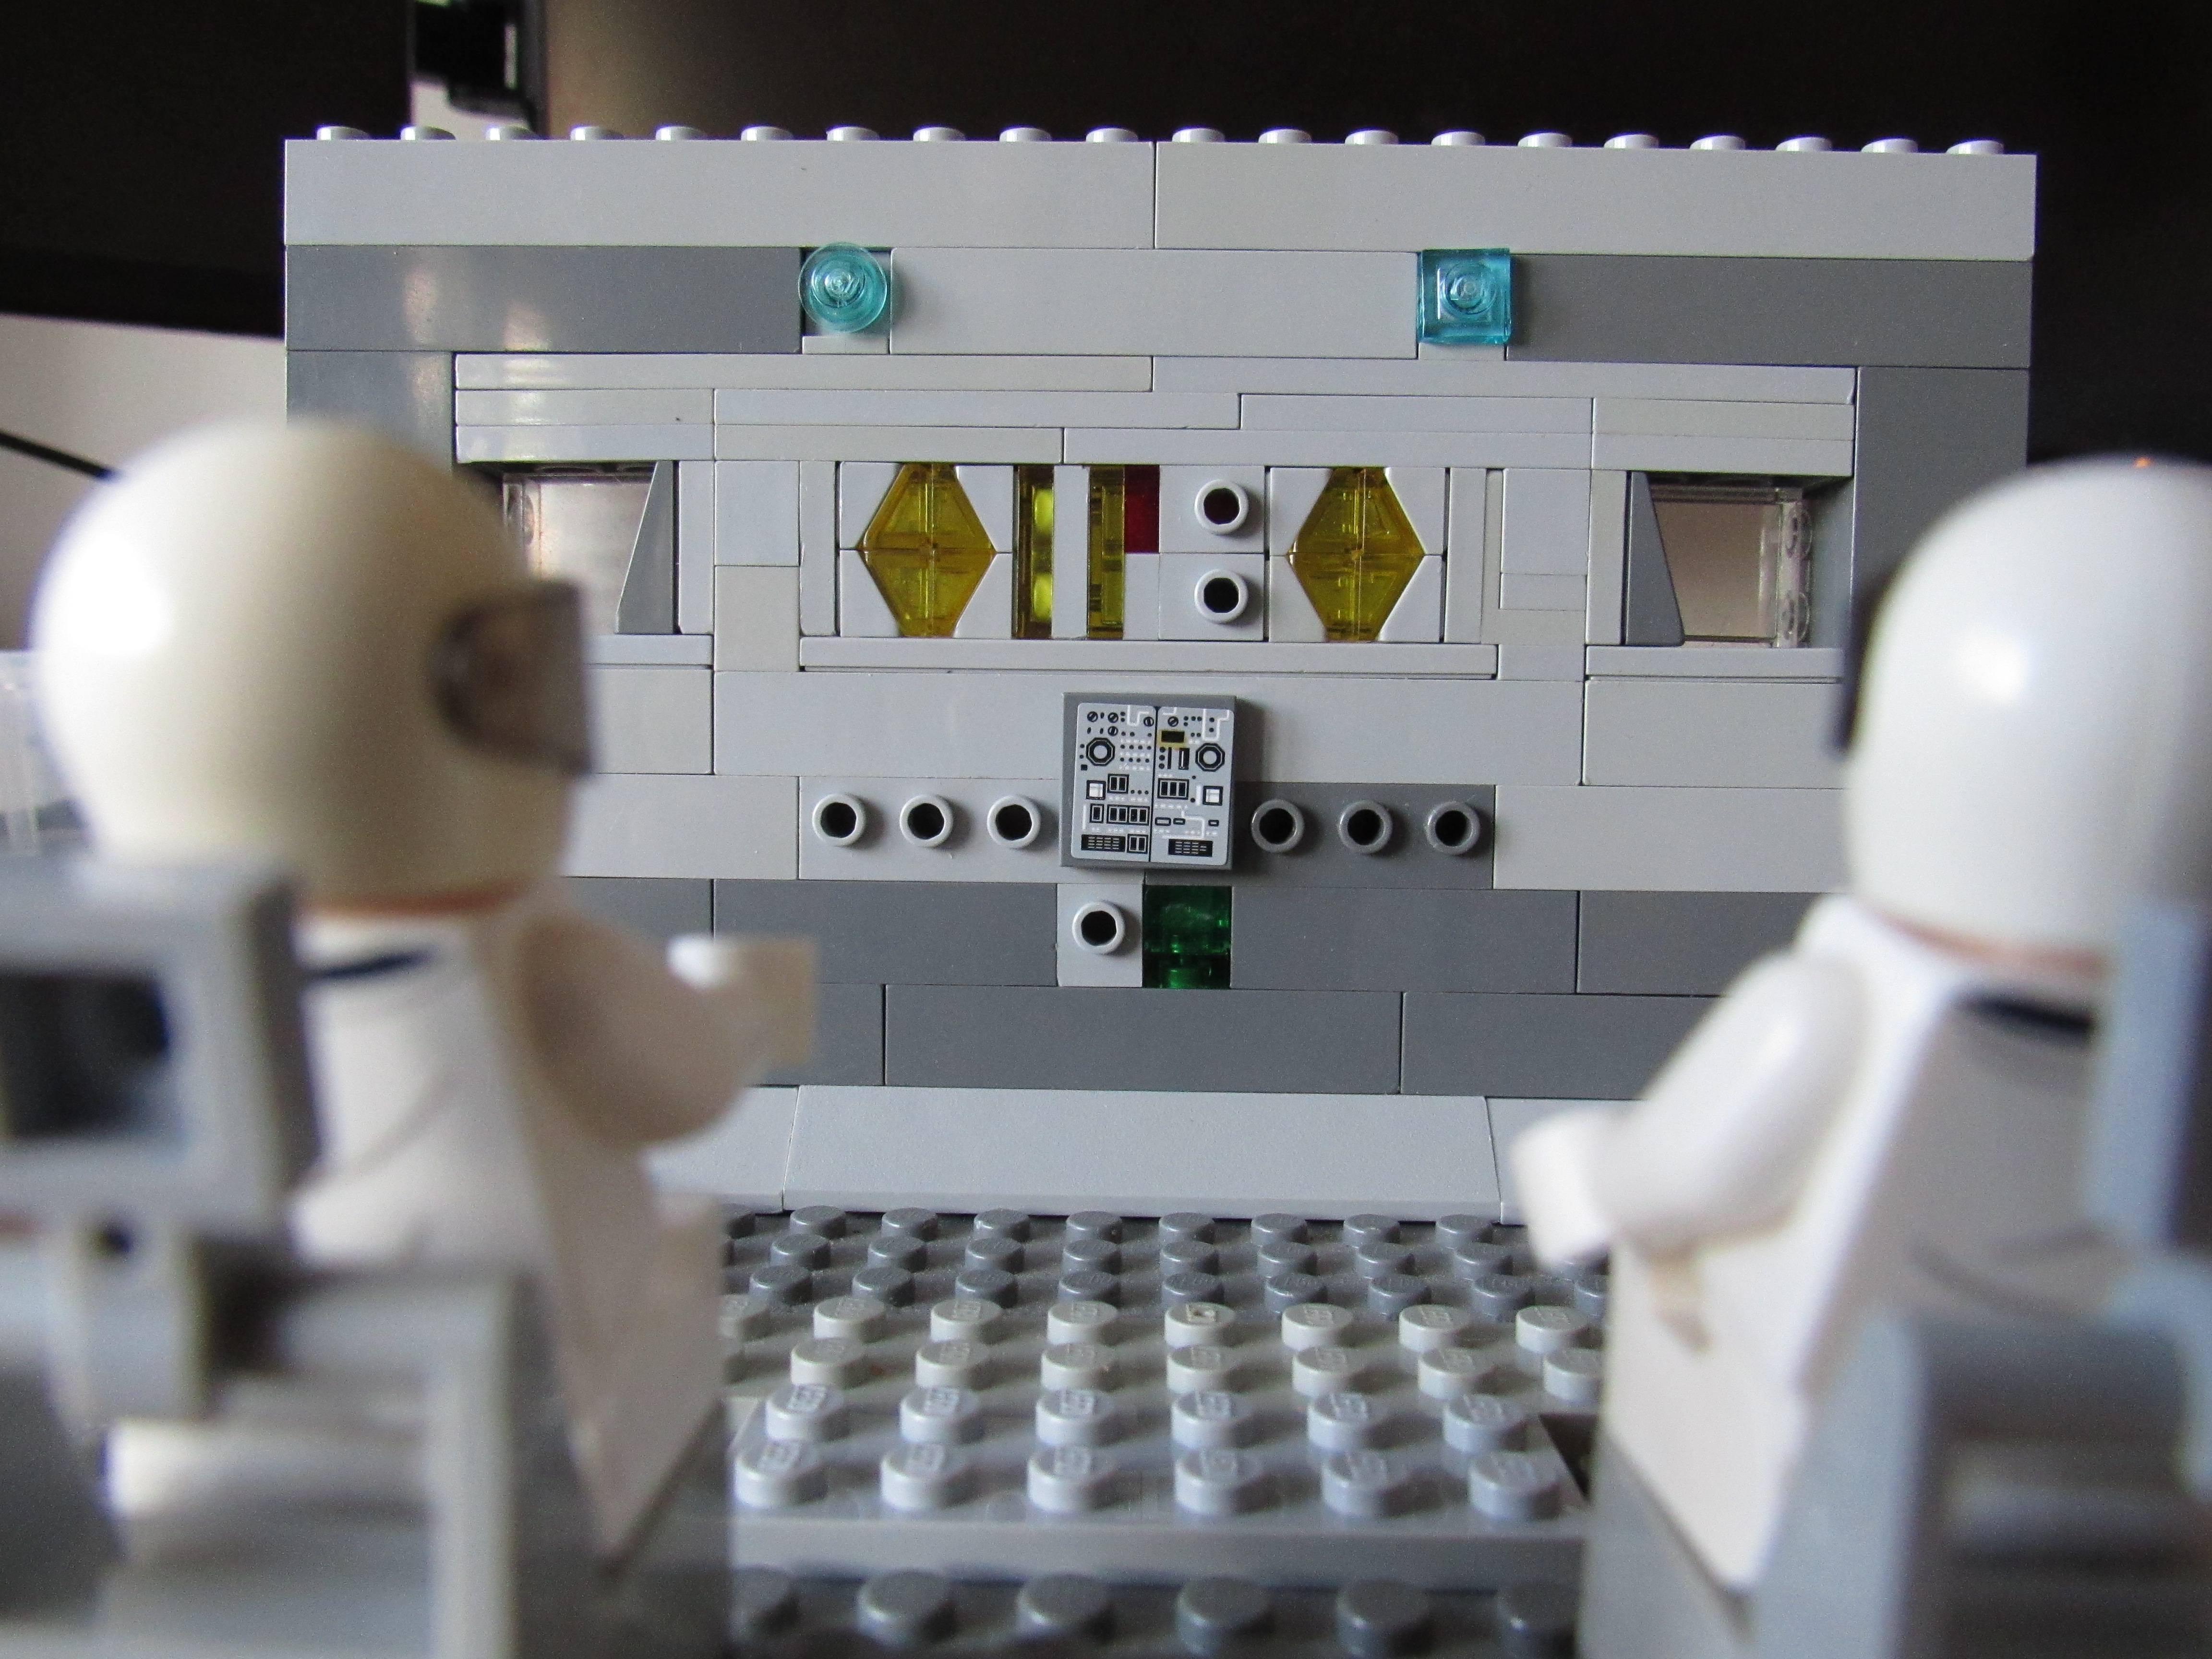
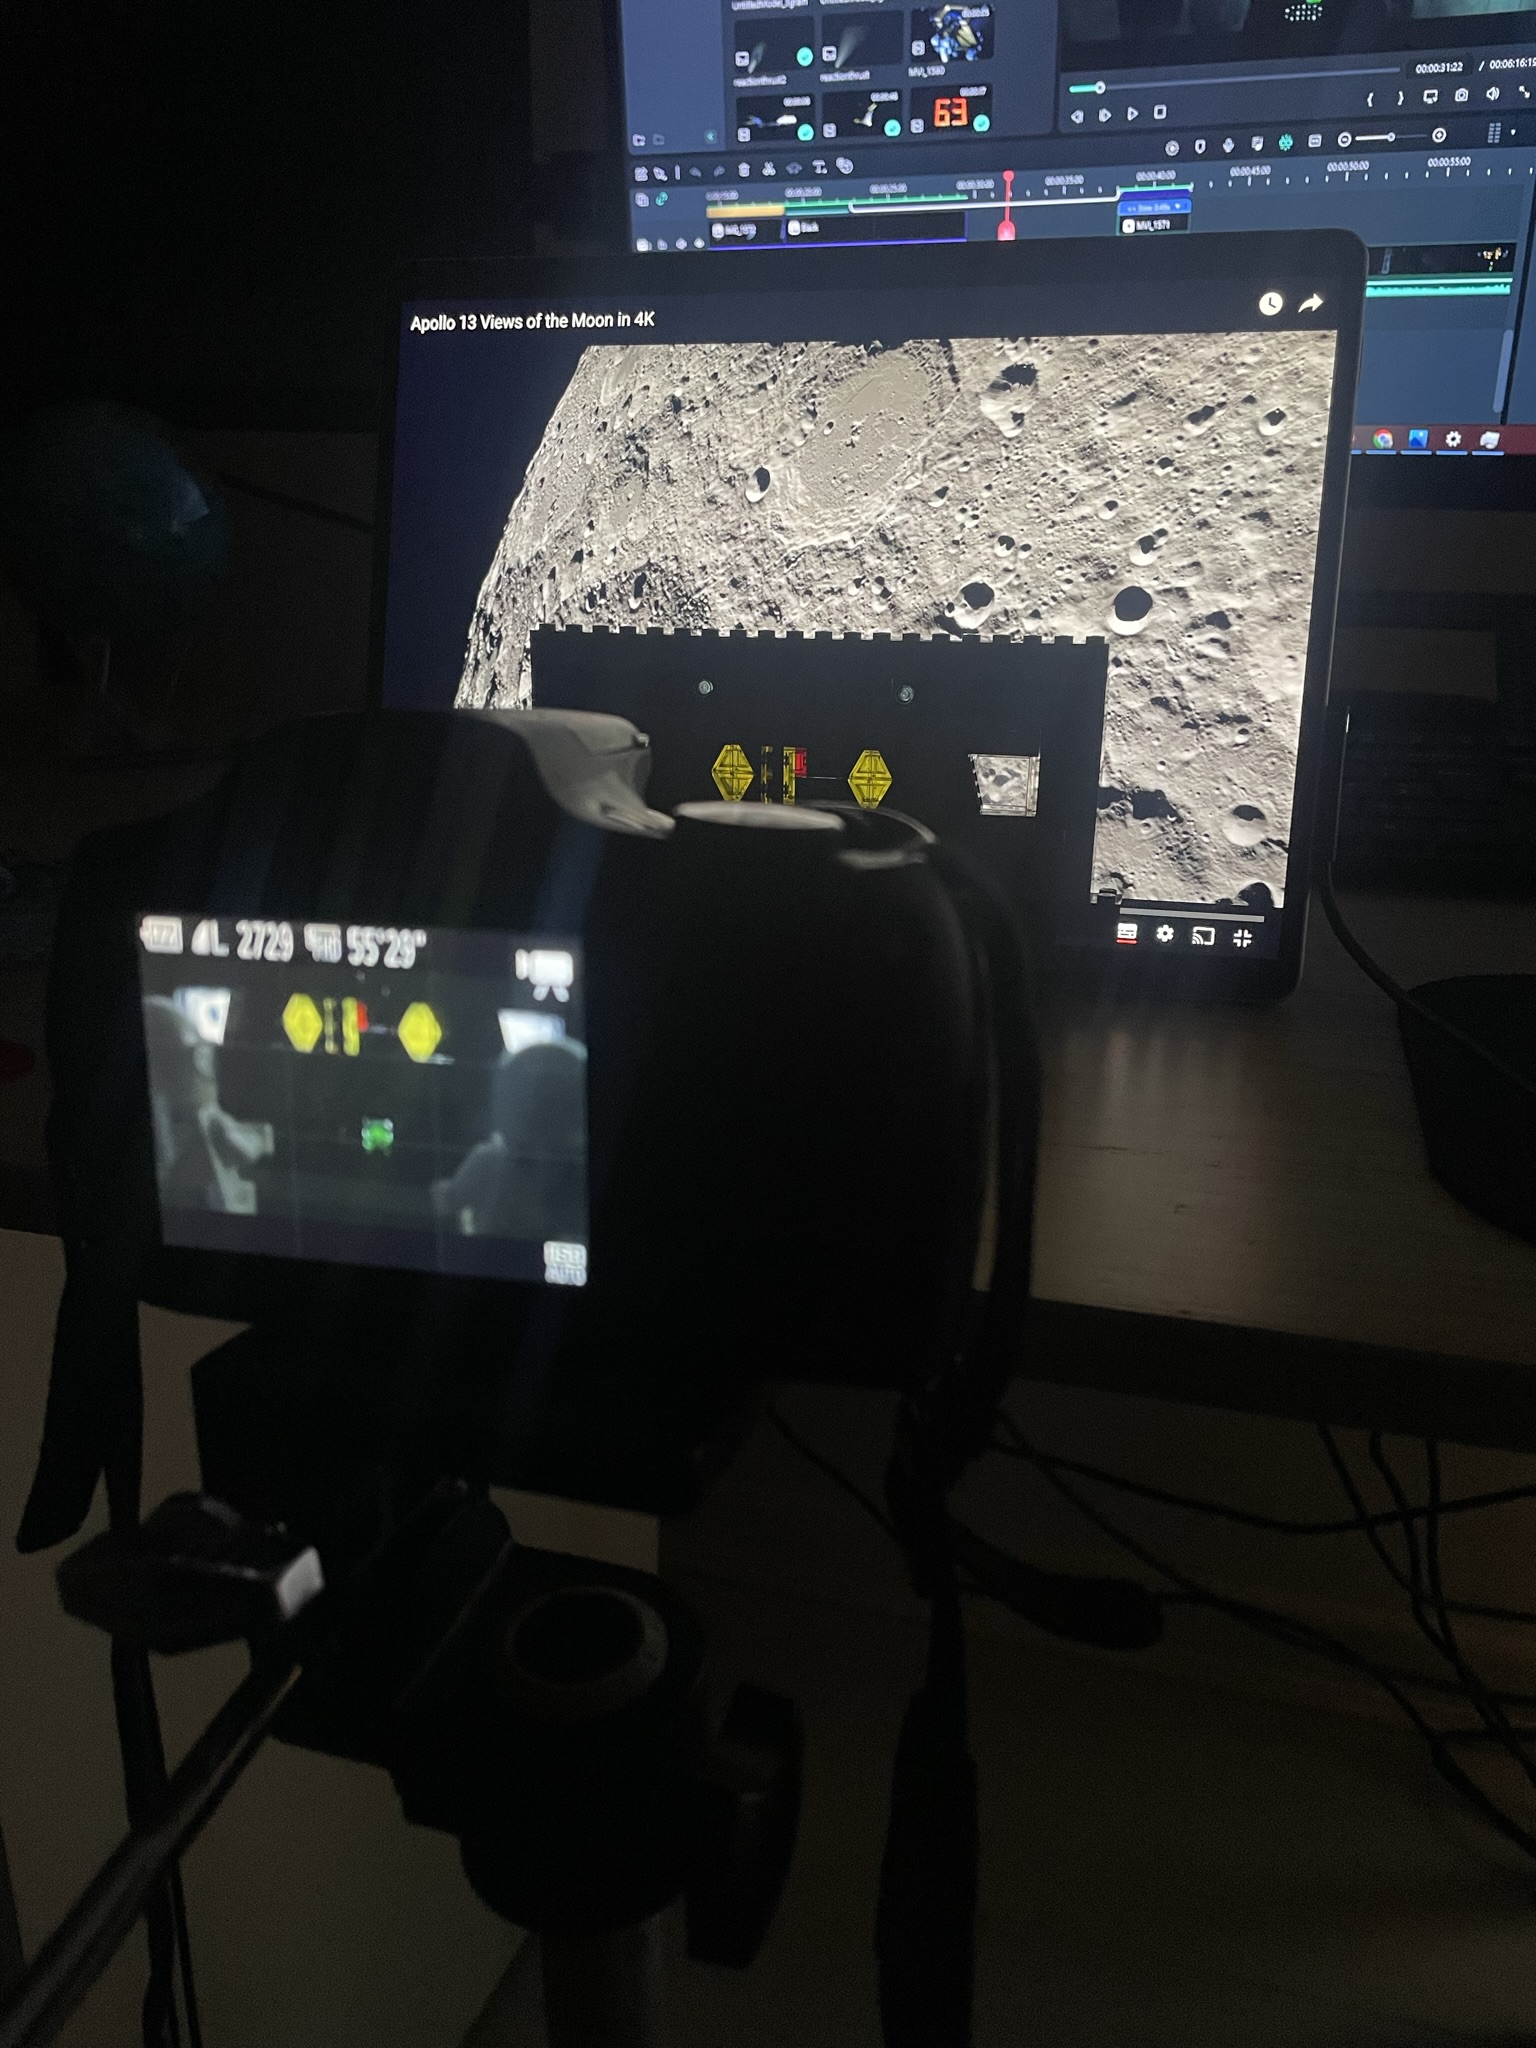
And with that, we had the intro sequence:
Digital Displays
A fine addition indeed.
 ↩︎
↩︎